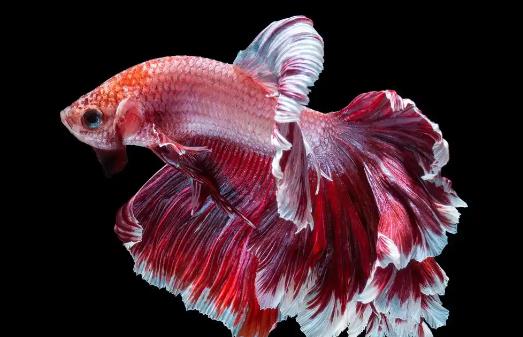
To change water for betta fish, special attention should be paid to water quality stability and operational details. Here are the complete steps and precautions for scientific water changing:

I. Preparations Before Water Change
Water Conditioning
Tap water must be left standing for 2-3 days (or exposed to sunlight for 1 day) to remove chlorine; purified water can also be used.
Add Indian almond leaves or water conditioners (such as dechlorinators) to simulate the natural habitat.
Tool Preparation
Siphon/thin tube (for cleaning bottom debris), thermometer (to ensure temperature difference between old and new water ≤2°C), and water bucket.
II. Water Changing Steps
Removing Old Water
Use a siphon to suck out feces and leftover food from the bottom. Change no more than 1/3 of the water each time (for tanks without a filtration system, change 1/3 weekly; with filtration, extend to 10-12 days).
Avoid disturbing the betta by pouring water directly—operate gently.
Adding New Water
Slowly pour new water along the tank wall to prevent flushing the fish.
Water temperature must match the original tank water (calibrate with a thermometer).
Water Quality Stabilization
Add nitrifying bacteria capsules (optional) after water change to maintain ecological balance.
Turn off the lights and keep the tank quiet for 1-2 hours to reduce betta stress.
III. Handling Special Cases
Water Quality Deterioration
If the water turns turbid or the betta shows fin rot, change 1/3 of the water daily for 3 consecutive days, and add Indian almond leaves/aquarium salt for conditioning.
Temperature Fluctuation
In winter, preheat new water with a heater before changing to avoid large temperature differences.
IV. Common Mistakes
Using untreated tap water directly (chlorine harms gills).
Changing all water in the tank (destroys the nitrification system).
Feeding immediately after water change (wait 2 hours recommended).
Using these methods can maintain water cleanliness while minimizing stress to the betta fish.
